-
TextInputLayout 사용하기Android_Kotlin/Android_공부 2023. 8. 1. 00:45728x90
안드로이드에서는 TextInputLayout이라는 EditText를 기반으로 좀 더 유연한 동작을 보여주는 레이아웃을 제공하고 있습니다.
코드
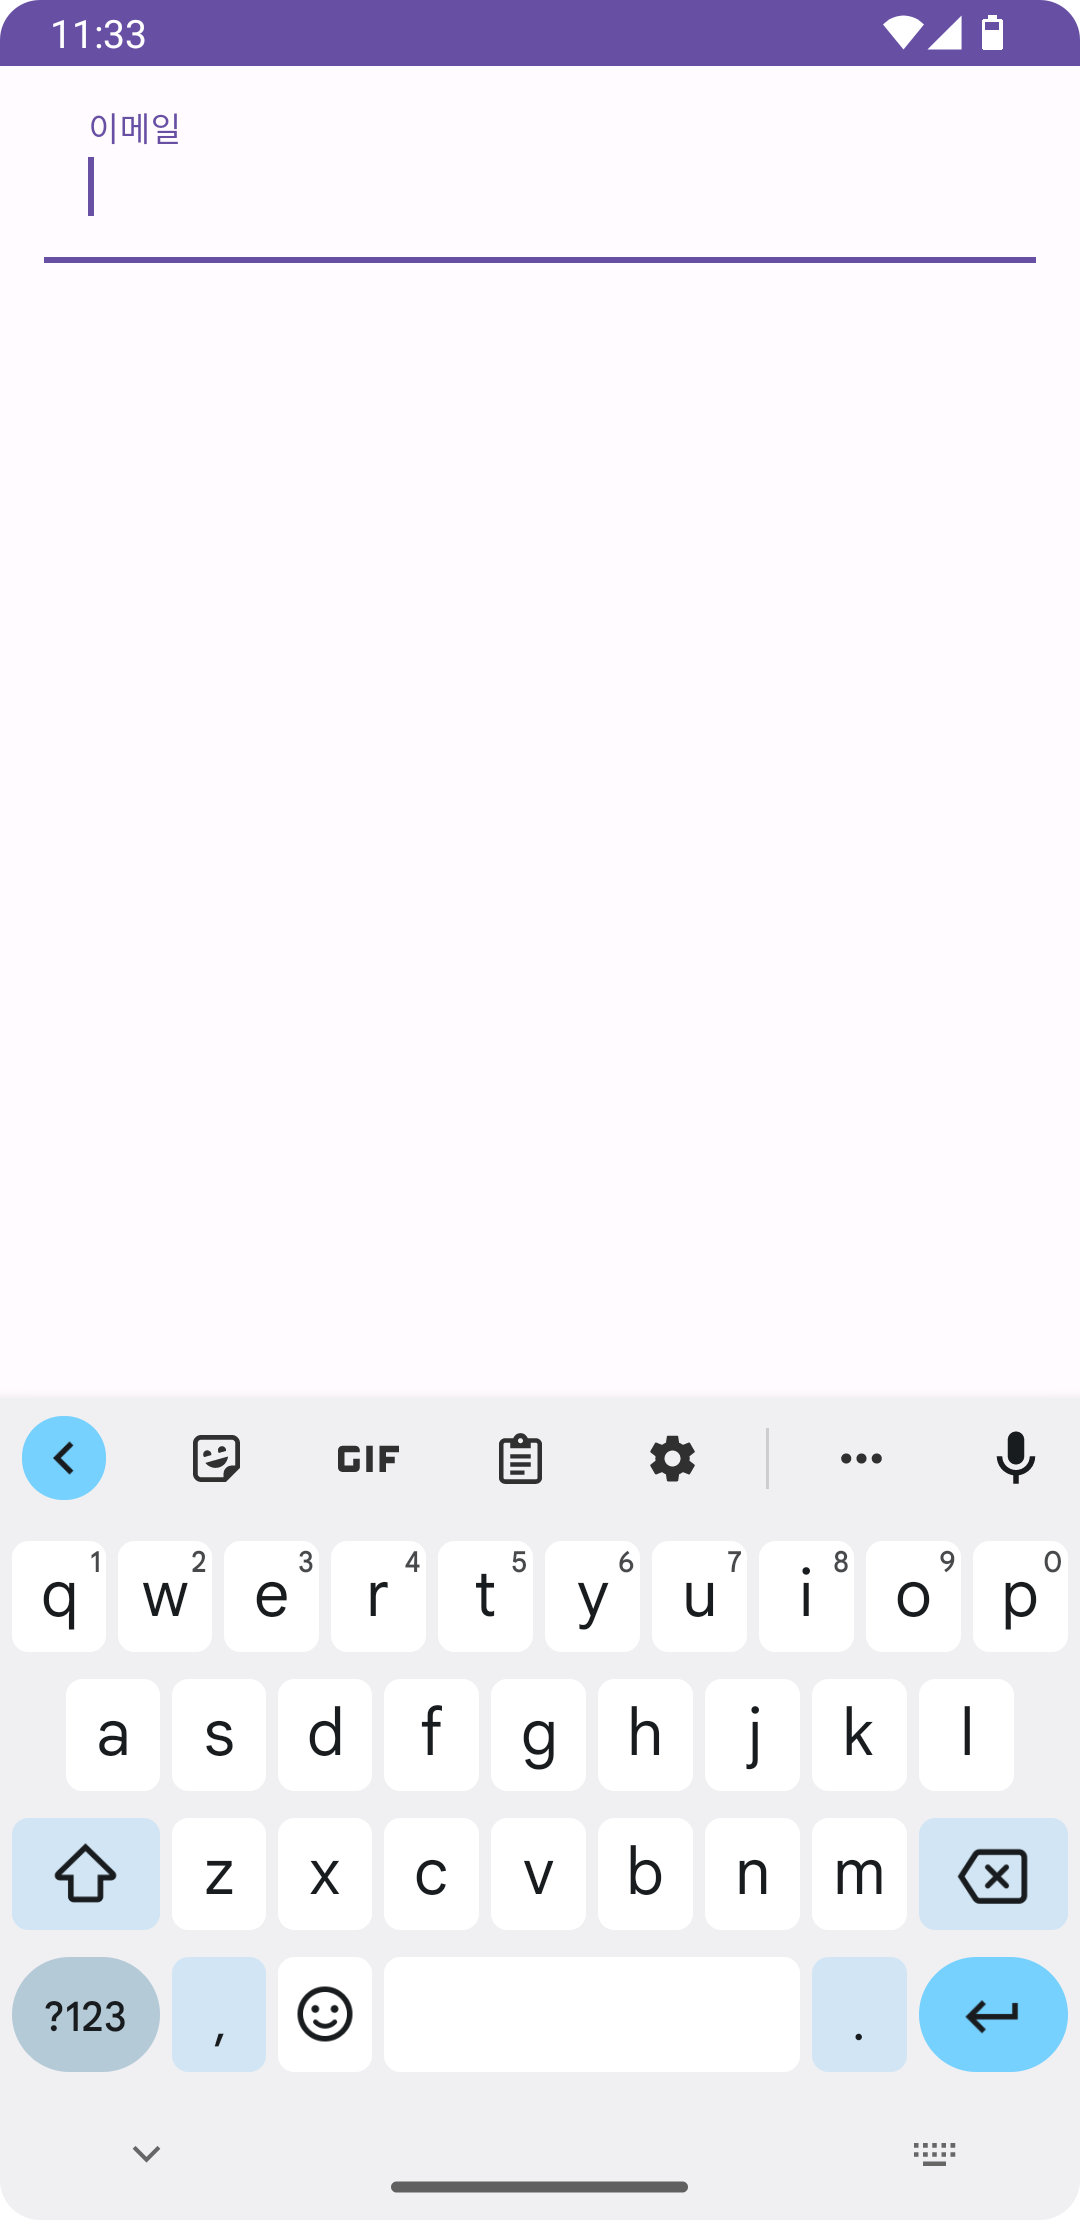
<?xml version="1.0" encoding="utf-8"?>
<androidx.constraintlayout.widget.ConstraintLayout
    xmlns:android="http://schemas.android.com/apk/res/android"
    xmlns:app="http://schemas.android.com/apk/res-auto"
    xmlns:tools="http://schemas.android.com/tools"
    android:layout_width="match_parent"
    android:layout_height="match_parent"
    android:padding="16dp"
    tools:context=".MainActivity">

    <com.google.android.material.textfield.TextInputLayout
        android:layout_width="match_parent"
        android:layout_height="wrap_content"
				app:boxBackgroundMode="filled"
        app:boxBackgroundColor="@null"
        app:layout_constraintTop_toTopOf="parent"
        app:layout_constraintStart_toStartOf="parent"
        app:layout_constraintEnd_toEndOf="parent">

        <com.google.android.material.textfield.TextInputEditText
            android:layout_width="match_parent"
            android:layout_height="wrap_content"
            android:hint="이메일"
            />

    </com.google.android.material.textfield.TextInputLayout>
</androidx.constraintlayout.widget.ConstraintLayout>
기본적으로 TextInputLayout을 사용하는 코드입니다.
TextInputLayout은 여러가지 기능을 제공하고있습니다.
입력텍스트의 길이 카운트 기능
counterEnabled : counterEnabled="true" , counterMaxLength="최대 텍스트의 길이" 속성을 추가하므로서 입력 텍스트의 길이를 카운트 할 수있고, 특정 길이를 초과하게되면 경고 표사를 할 수 있습니다.
코드
<?xml version="1.0" encoding="utf-8"?>
<androidx.constraintlayout.widget.ConstraintLayout
    xmlns:android="http://schemas.android.com/apk/res/android"
    xmlns:app="http://schemas.android.com/apk/res-auto"
    xmlns:tools="http://schemas.android.com/tools"
    android:layout_width="match_parent"
    android:layout_height="match_parent"
    android:padding="16dp"
    tools:context=".MainActivity">

    <com.google.android.material.textfield.TextInputLayout
        android:layout_width="match_parent"
        android:layout_height="wrap_content"
        app:counterMaxLength="5"
        app:counterEnabled="true"
        app:boxBackgroundMode="filled"
        app:boxBackgroundColor="@null"
        app:layout_constraintTop_toTopOf="parent"
        app:layout_constraintStart_toStartOf="parent"
        app:layout_constraintEnd_toEndOf="parent">

        <com.google.android.material.textfield.TextInputEditText
            android:layout_width="match_parent"
            android:layout_height="wrap_content"
            android:hint="닉네임"
            />

    </com.google.android.material.textfield.TextInputLayout>
</androidx.constraintlayout.widget.ConstraintLayout>
5자를 넘어가자 경고표시가 뜨게된다. 에러 메세지 기능
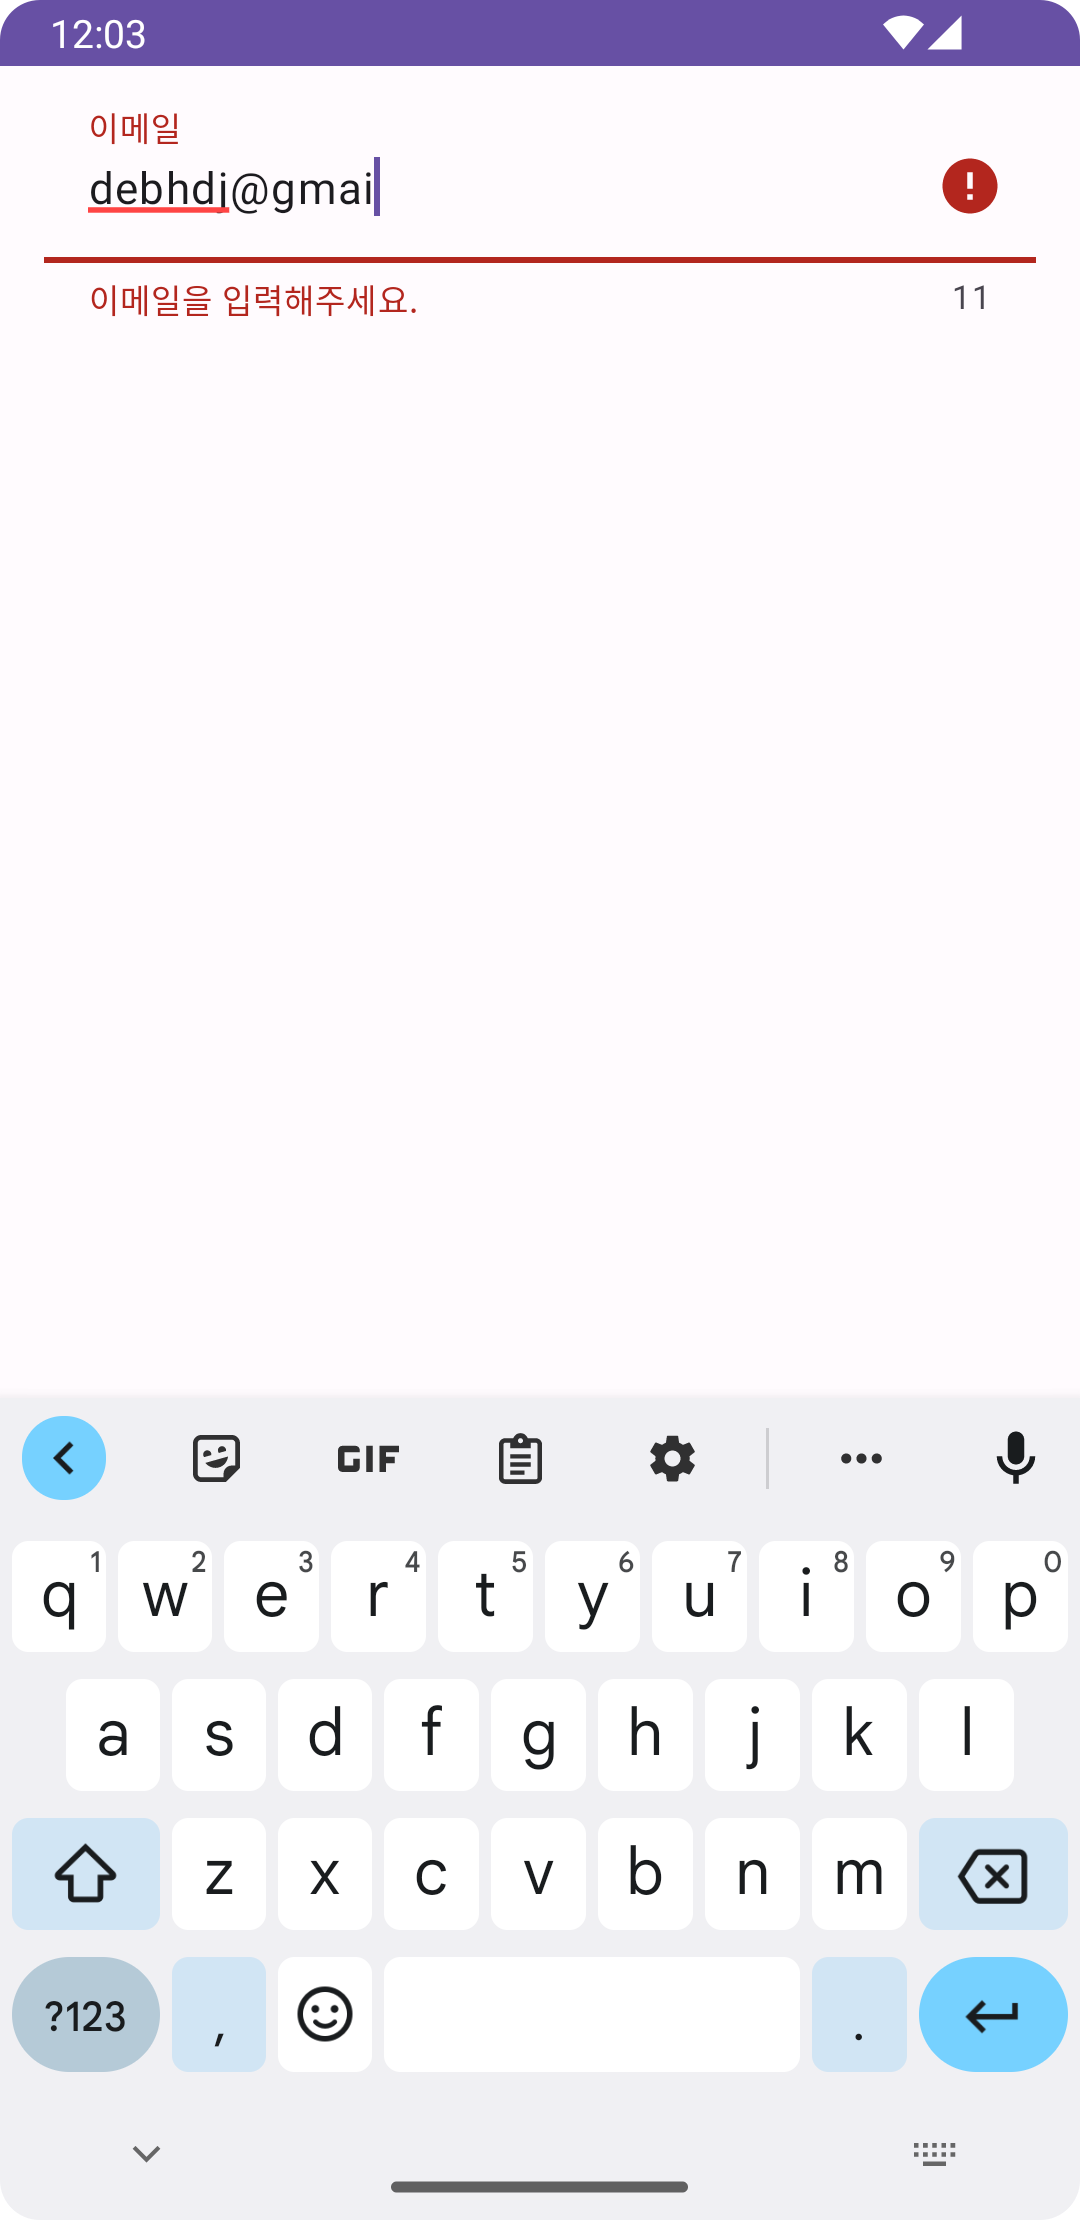
그인시에 이메일 형식을 알맞게 입력했는지 체크하는 기능과 같이 EditText에 입력된 값을 체크하여, 값이 없거나 잘 못 되었을 때 에러 메시지를 전달 할 수 있습니다.
코틀린 파일에 코드를 추가하면 구현이 가능하다.
import android.os.Bundle import android.widget.Toast import androidx.appcompat.app.AppCompatActivity import com.example.textinputlayoutnotion.databinding.ActivityMainBinding class MainActivity : AppCompatActivity() { private var _binding: ActivityMainBinding? = null private val binding get() = _binding!! override fun onCreate(savedInstanceState: Bundle?) { super.onCreate(savedInstanceState) _binding = ActivityMainBinding.inflate(layoutInflater) setContentView(binding.root) binding.buttonSubmit.setOnClickListener { validateEmail() } } private fun validateEmail() { val value: String = binding.email.editText?.text.toString() val emailPattern = "[a-zA-Z0-9._-]+@[a-z]+\\.+[a-z]+" if (value.isEmpty()) { binding.email.error = "이메일을 입력해주세요." } else if (!value.matches(emailPattern.toRegex())) { binding.email.error = "이메일 형식이 잘못되었습니다." binding.email.isErrorEnabled = true } else { binding.email.error = null binding.email.isErrorEnabled = false Toast.makeText(this, "이메일이 유효합니다.", Toast.LENGTH_SHORT).show() } } override fun onDestroy() { super.onDestroy() _binding = null } }'Android_Kotlin > Android_공부' 카테고리의 다른 글
fetchListData() 일반적인 디자인 패턴 (0) 2023.08.08 Fragment와 WebData 활용하기 (0) 2023.08.01 SQLite 실습1-2(추가 : 예외처리) (0) 2023.08.01 SQLite 실습1-2 (0) 2023.07.31 SQLite 실습1-1 (0) 2023.07.31